


MY GOD. Spackle-sand-spackle-sand does not even remotely touch on how repetitive that process was! John and I were up until 3:00am on Wednesday night doing the last coats of paint, putting up the new light fixture, and caulking the portrait moldings. It is safe to say that neither of us were exactly on our A-game at work yesterday, and we're both unspeakably excited to take a break this weekend.


To recap, our budget so far:
Craig's List IKEA Sisal Rug: $40.00
Craig's List Vintage Upholstered Chairs: $50.00/pair
Materials & Supplies (Paint, drywall, pendant light kit, moldings and trim) $276.00
Total Spent in Renovating Our Living Room: $366.00
Total Hours (Unpaid) Renovating Our Living Room : Unthinkable Quantities
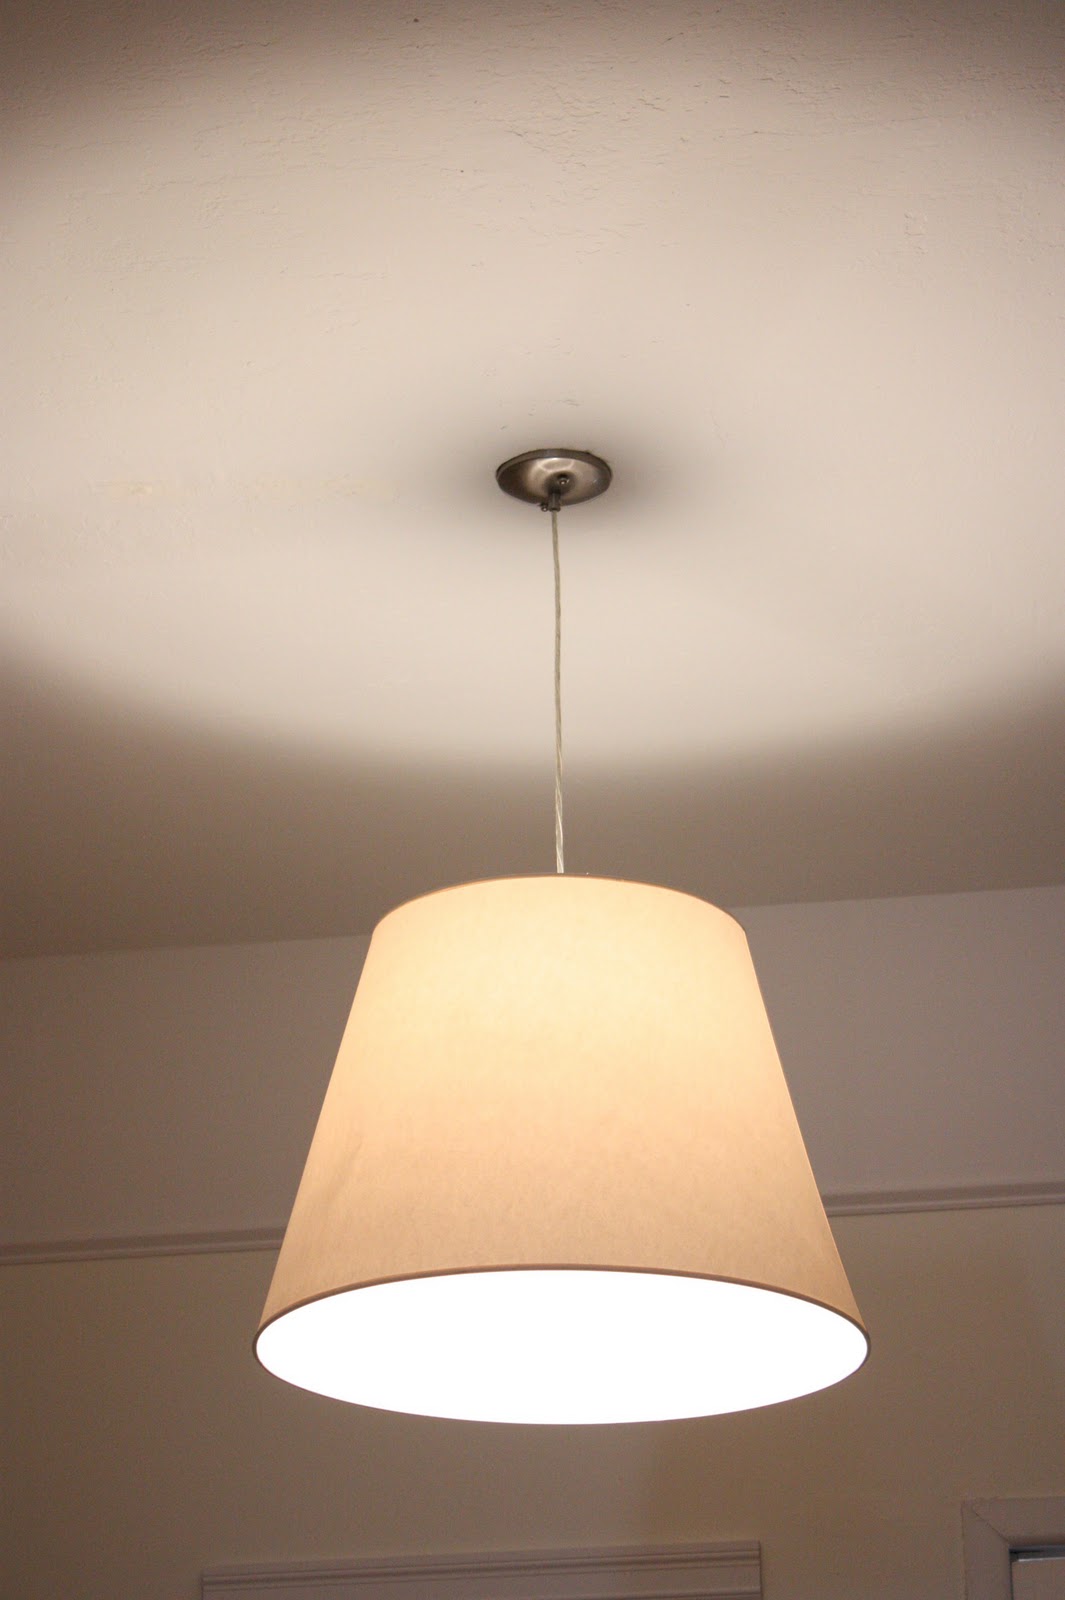
You may have also noticed that our little white chandelier has been replaced by a new resplendent pendant light. That's a funny story. Last Friday night, Julia and I were walking through the East Village and what did I spy peeking out of a dumpster? A gigantic paper lamp shade, in 98% perfect condition, still in its original plastic wrapping! So of course I drag it out of the dumpster, and then Julia and I had to weave our way along St. Mark's Place, surrounded by drunken NYU students who were somehow completely oblivious of me and my massive freaking lamp shade. I literally said "Excuse Me" two dozen times in a little under 30 minutes. Remarkably, Julia did not walk quickly away from me and pretend she didn't know the idiot with the 24" wide lamp shade. Truly a good friend. It was even more funny when we tried to find somewhere to have a glass of wine. Have you ever tried to find a table for two in a tiny East Village wine bar on a Friday night? Add a considerably oversized lamp shade to that equation... No dice.
So anyway, eventually we got the lamp shade back to Williamsburg (also a hit on the crowded L train...) and I tried attaching it to the existing chandelier to see how it looked. Except I could only get it to stay on upside down, so it really just looked like a huge upside-down lamp shade hanging from the ceiling. It was actually laugh-out-loud funny looking, which made carrying it all the way home seem especially worthwhile. But- you know me- not to be deterred- I picked up a "build-your-own pendant light" kit from Home Depot the next day and went ahead and built-my-own pendant light. And I have to tell you, I am beyond happy with the results. I like the crazy circle of light that is cast onto the ceiling above the shade and in total it cost me $14.00 for the light kit and a good chunk of my ego to carry around the shade looking like a twit. Now that's on a budget!
Now some "before" photos for dramatic effect!
(Remember when it was THIS MUCH FUN to come home every evening...)


Phase One Is Complete!
In just under one month, completed primarily after dinner, with the addition of a couple of weekend days, minus the day that John and Andrew went to the gun range, we have transformed a major part of our apartment into something far more livable and lovely. So... let the soul-wrenching, heart-crushing criticisms roll in. Online commenters- you know who you are.
Oh my goodness! Everything looks fantastic!! I simply CANNOT believe that you guys did all of that work in a month. Where the HELL do you find that energy and may I have some? Truly, you did a terrific job and should be so proud. And that is one funny story about carting that lampshade home and then not even wind up using it! LOL! Well, congratulations to the both of you on a wonderful job!
ReplyDeleteBest,
Gloria
Lovely! But where are the antique doors?
ReplyDeleteTo Zinnia Girl:
ReplyDeleteNever fear-- the antique doors will still be used somewhere in this renovation! We just haven't decided where yet... Stay tuned!
To Gloria:
ReplyDeleteThanks for all of your support and zeal! Everyone should also check out Gloria's great blog at:
http://thelittleredhousewiththewhiteporch.blogspot.com/
Wow! That is an amazing renovation! Love your style!!
ReplyDeleteWow! This is lovely! I love the shade you used, too. I'm popping over from Remodelaholic.
ReplyDeleteThanks for your encouragement Kim & Melissa! We have loads of work ahead of us still, so it is terrific to hear so much positive (motivational) praise!
ReplyDeleteCheck back in to see what's next!
C & J.
What an all-around incredible job you guys did. Toting that shade was totally worth it!
ReplyDeleteI love how creative your DIY approach turned out!
ReplyDelete